


I have come to the end of the first pattern in my new adventure. With my aim being to use 13 different patterns and therefore 4 variations of each pattern, I feel things are going well so far. I haven't yet pushed myself with the patterns, there will definitely be time for this. Easing myself into it is a plan I am sticking with and hoping a simple plan and good idea will produce an elegant and wearable garment. Which brings me to week 4 and maybe I have achieved this simple elegance.
With this weeks creation I wanted to show that even with a dress only pattern, with no separate skirt variation, it doesn't mean that you can't create just a skirt. If you have found a dress pattern you really love and the skirt pieces are a lovely shape there is nothing stopping you from making a separate skirt. This may sound a little obvious but it sometimes can be a bit tricky. I have found that when doing this you might need to change the waistline size. Speaking from personal preference I would normally allow a little more room in a dress but prefer a closer fit in a skirt. This will come from taking a little more care with your measurements and making sure you know exactly the size you need, depending on a dress or skirt shape. If you are having difficulty knowing how and where to measure the gals at byhandlondon have an awesome post telling you everything you need to know. Check it out here.
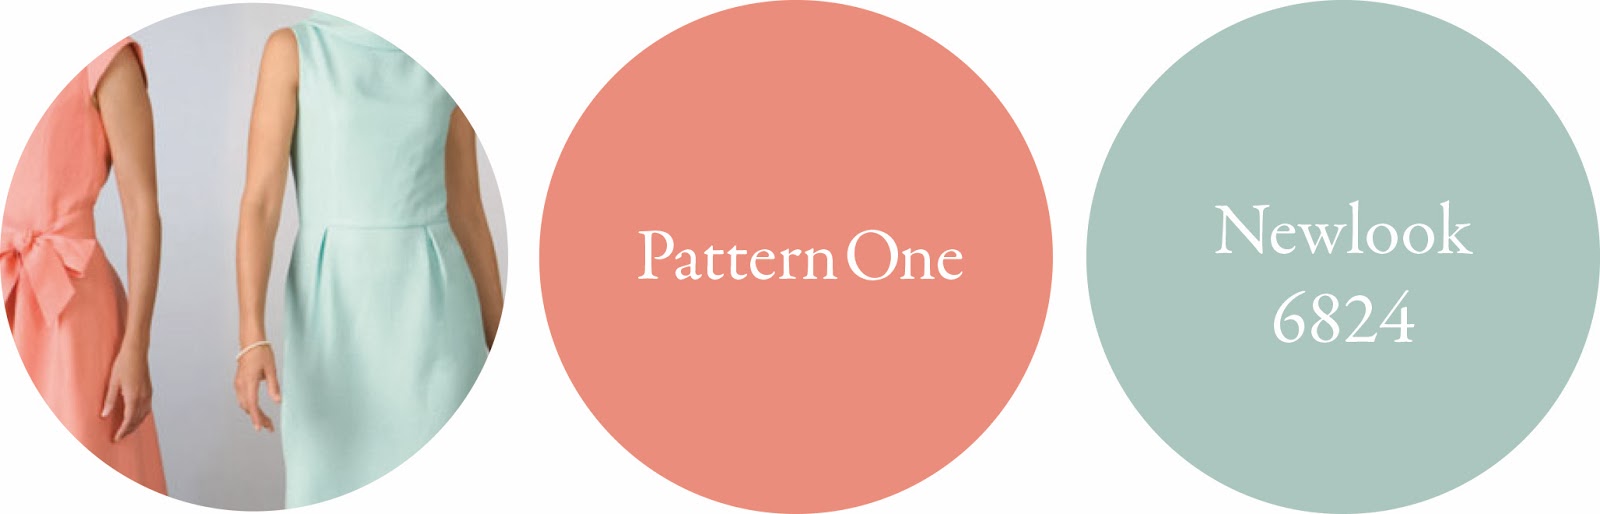
So back to the pattern and the final creation using Newlook 6824. I chose to use pattern piece H, which is the pleated skirt. I had decided on the fabric quite early on and already had this in my stash, leftover from a creation last year. The style I had envisioned suited the fabric perfectly. I was super pleased that the length of the pattern piece was exactly how I wanted the skirt to be. I love a mid calf length especially with a fuller skirt. So this meant that luckily I didn't need to do any extra measuring or cutting.
The extras needed for this creation come when finishing the skirt. As discussed before and due to this being a dress pattern with no skirt variation I had to create a waistband piece. Thankfully there are a lot of tutorials out there to help you with this. If you have never drafted a waistband before I would definitely recommend and send you back to the gals at byhandlondon and there very helpful tutorial for the perfect waistband here. This involves just a little more measuring. The fun part when making your own waistband is that you can really play around when deciding on the size and style and can really go nuts with contrasting fabrics to make each skirt you make totally different.
I chose a navy fabric for my waistband to compliment the blue in the skirt. With the style of the skirt I didn't need to make a statement in the waistband as the print and sheer fabric, I think is striking enough. The images above show how the fabric can change dependent on skirt worn underneath. This can be sewn in and attached permanently if you wanted, but I think it's a lot more fun to leave bare. You can then be as risk-ay or conservative as you like.


Above are all the pattern alterations I have explored showing four very different styles. Going into the next pattern and others to come I might re-use this one. Hopefully as I gather more throughout the year I can begin to combine the patterns. oooo the options are endless. Firstly, I guess I need to decide on pattern two - eeek! what will it be. Any suggestions are welcome.
Thank you everyone for reading and happy stitching!
Beautiful skirt, and love all 4 variations on this pattern, can't wait to see which one you choose next! On a side note- measurements are such a bitch but it's definitely worth taking them with regularity because when you make things, it's the only opportunity you have to make sure your clothes fit precisely how you want them. Nothing worse than proudly making something that then doesn't fit how you want it.
ReplyDelete